Creating your first project
In this section you'll learn how to:
- Create your Nefta account
- Create your first project
- Set up project webhooks
- Project actions
- User actions
- Find your project details
- Project wallet address
- Project API key
- New marketplace
1. Create your Nefta account
- Visit https://platform.nefta.io/signup
- Enter an email & password
- Wait for the confirmation email
- Confirm by clicking the verification link
A note on account creation:
We currently have a process that involves reviewing emails and signups before account creation is approved. If you haven't received an email in a few hours then feel free to reach out to our team via our contact page.
2. Create your first project
You will see the following screen after logging in for the first time:
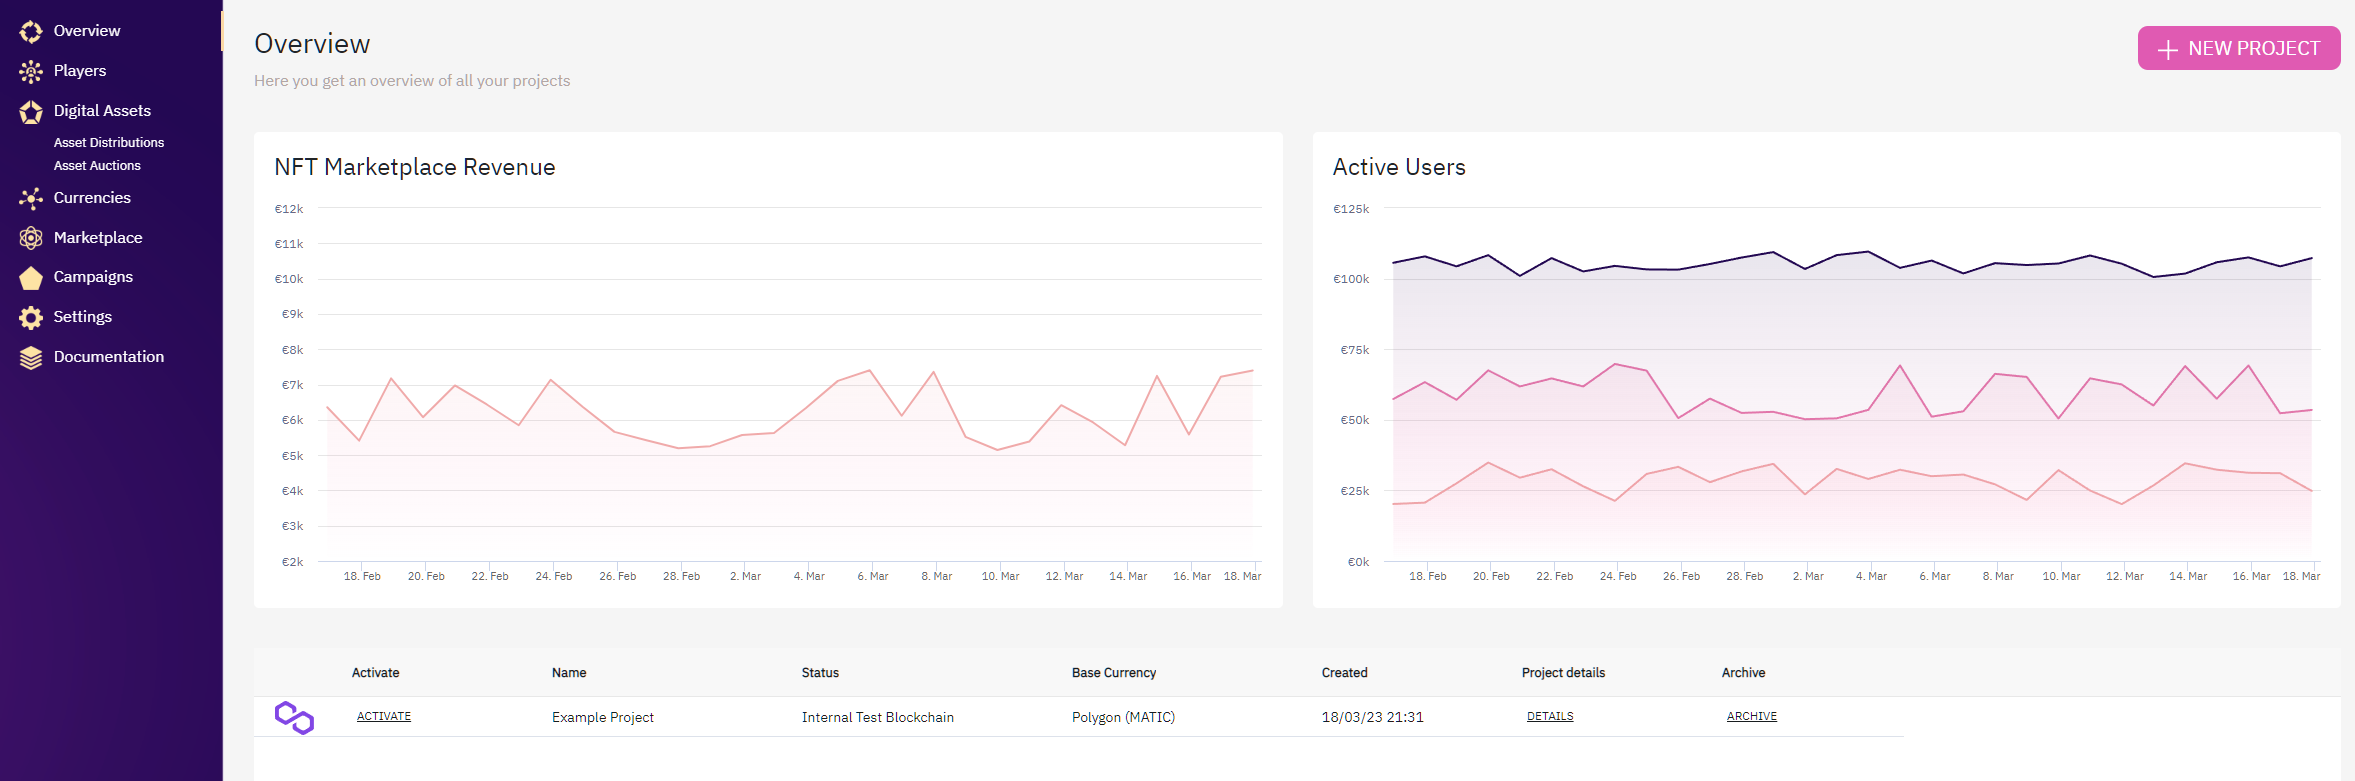
Overview page
To create a new project with a completely fresh set of infrastructure, simply click "NEW PROJECT" in the top right.
Next, select the following:
- The chain you want your project on
- The environment (live/production, TestNet, or Internal Test Blockchain)
- A name for your project
Hit "Create Project"
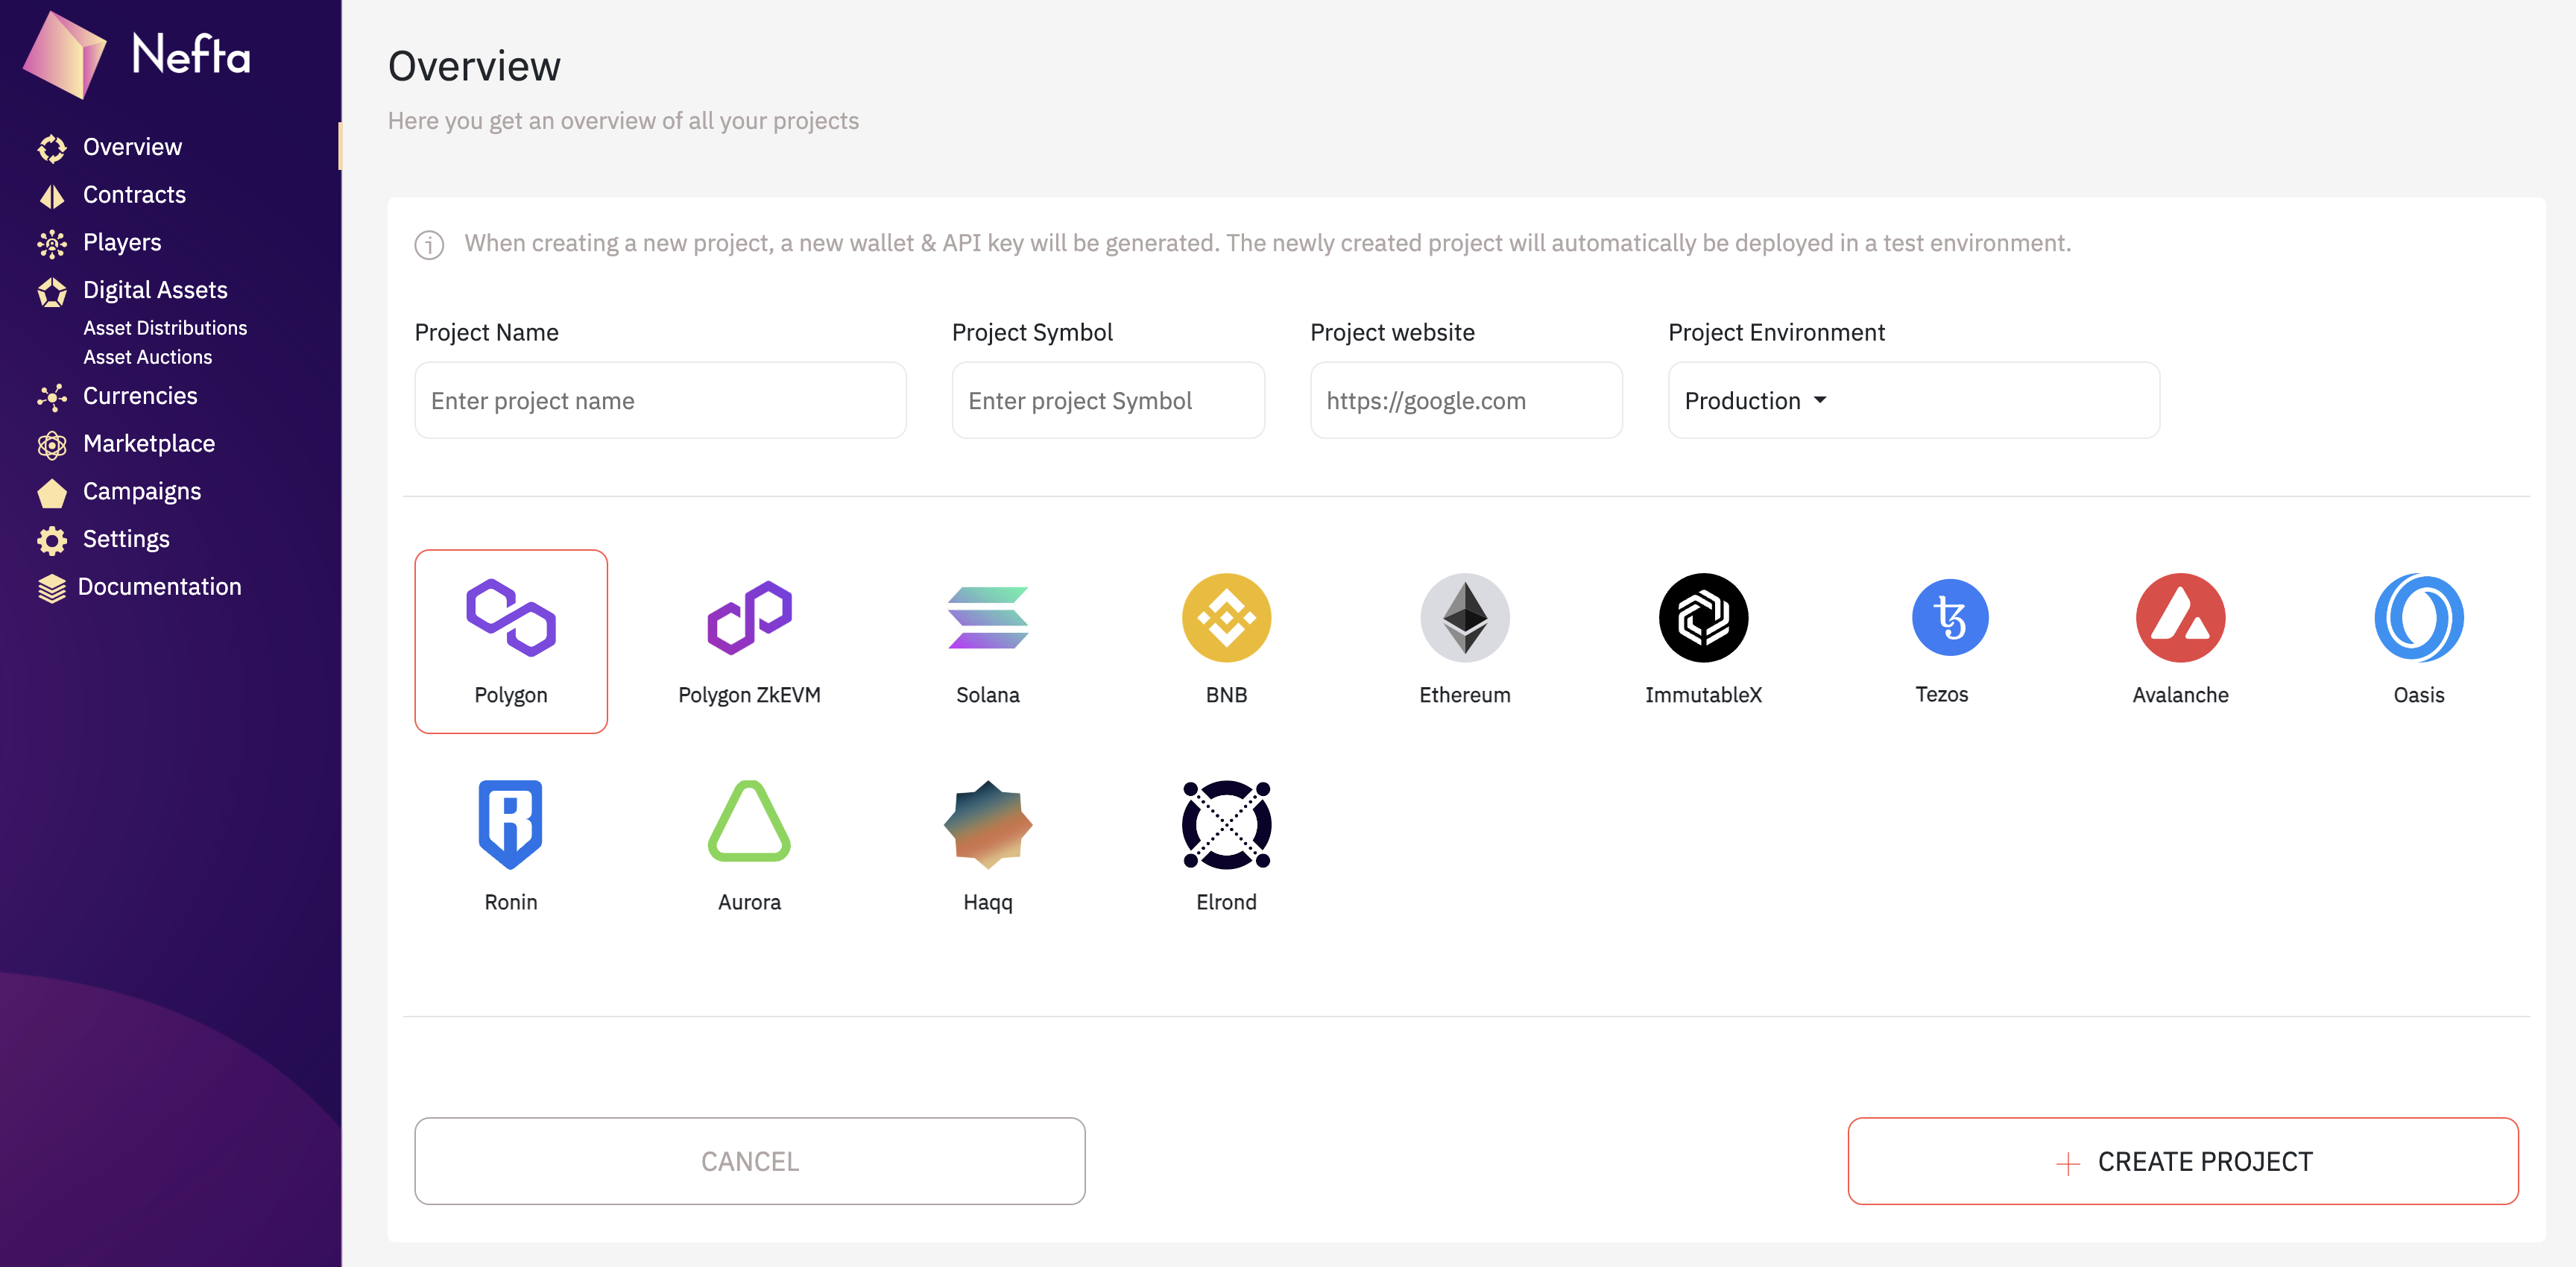
Create a new project screen & options
Your fresh project has now been created.
Your project is now viewable on the Overview page.
A note on fresh infrastructure
Once you’ve created your project, you also get a fresh slate of infrastructure, including:
- Your project wallet;
- Ramp for funding your wallet via Fiat, as well as managing KYC;
- Your very own marketplace where you can:
- Distribute and sell your assets;
- Enable your players to sell their own assets;
- Ability to choose the native currency of your wallet:
- e.g., SOL if you’re on Solana, MATIC if you're on Polygon and so on;
- Create your own token/currency and list it as the default currency for your marketplace.
3. Set up project webhooks
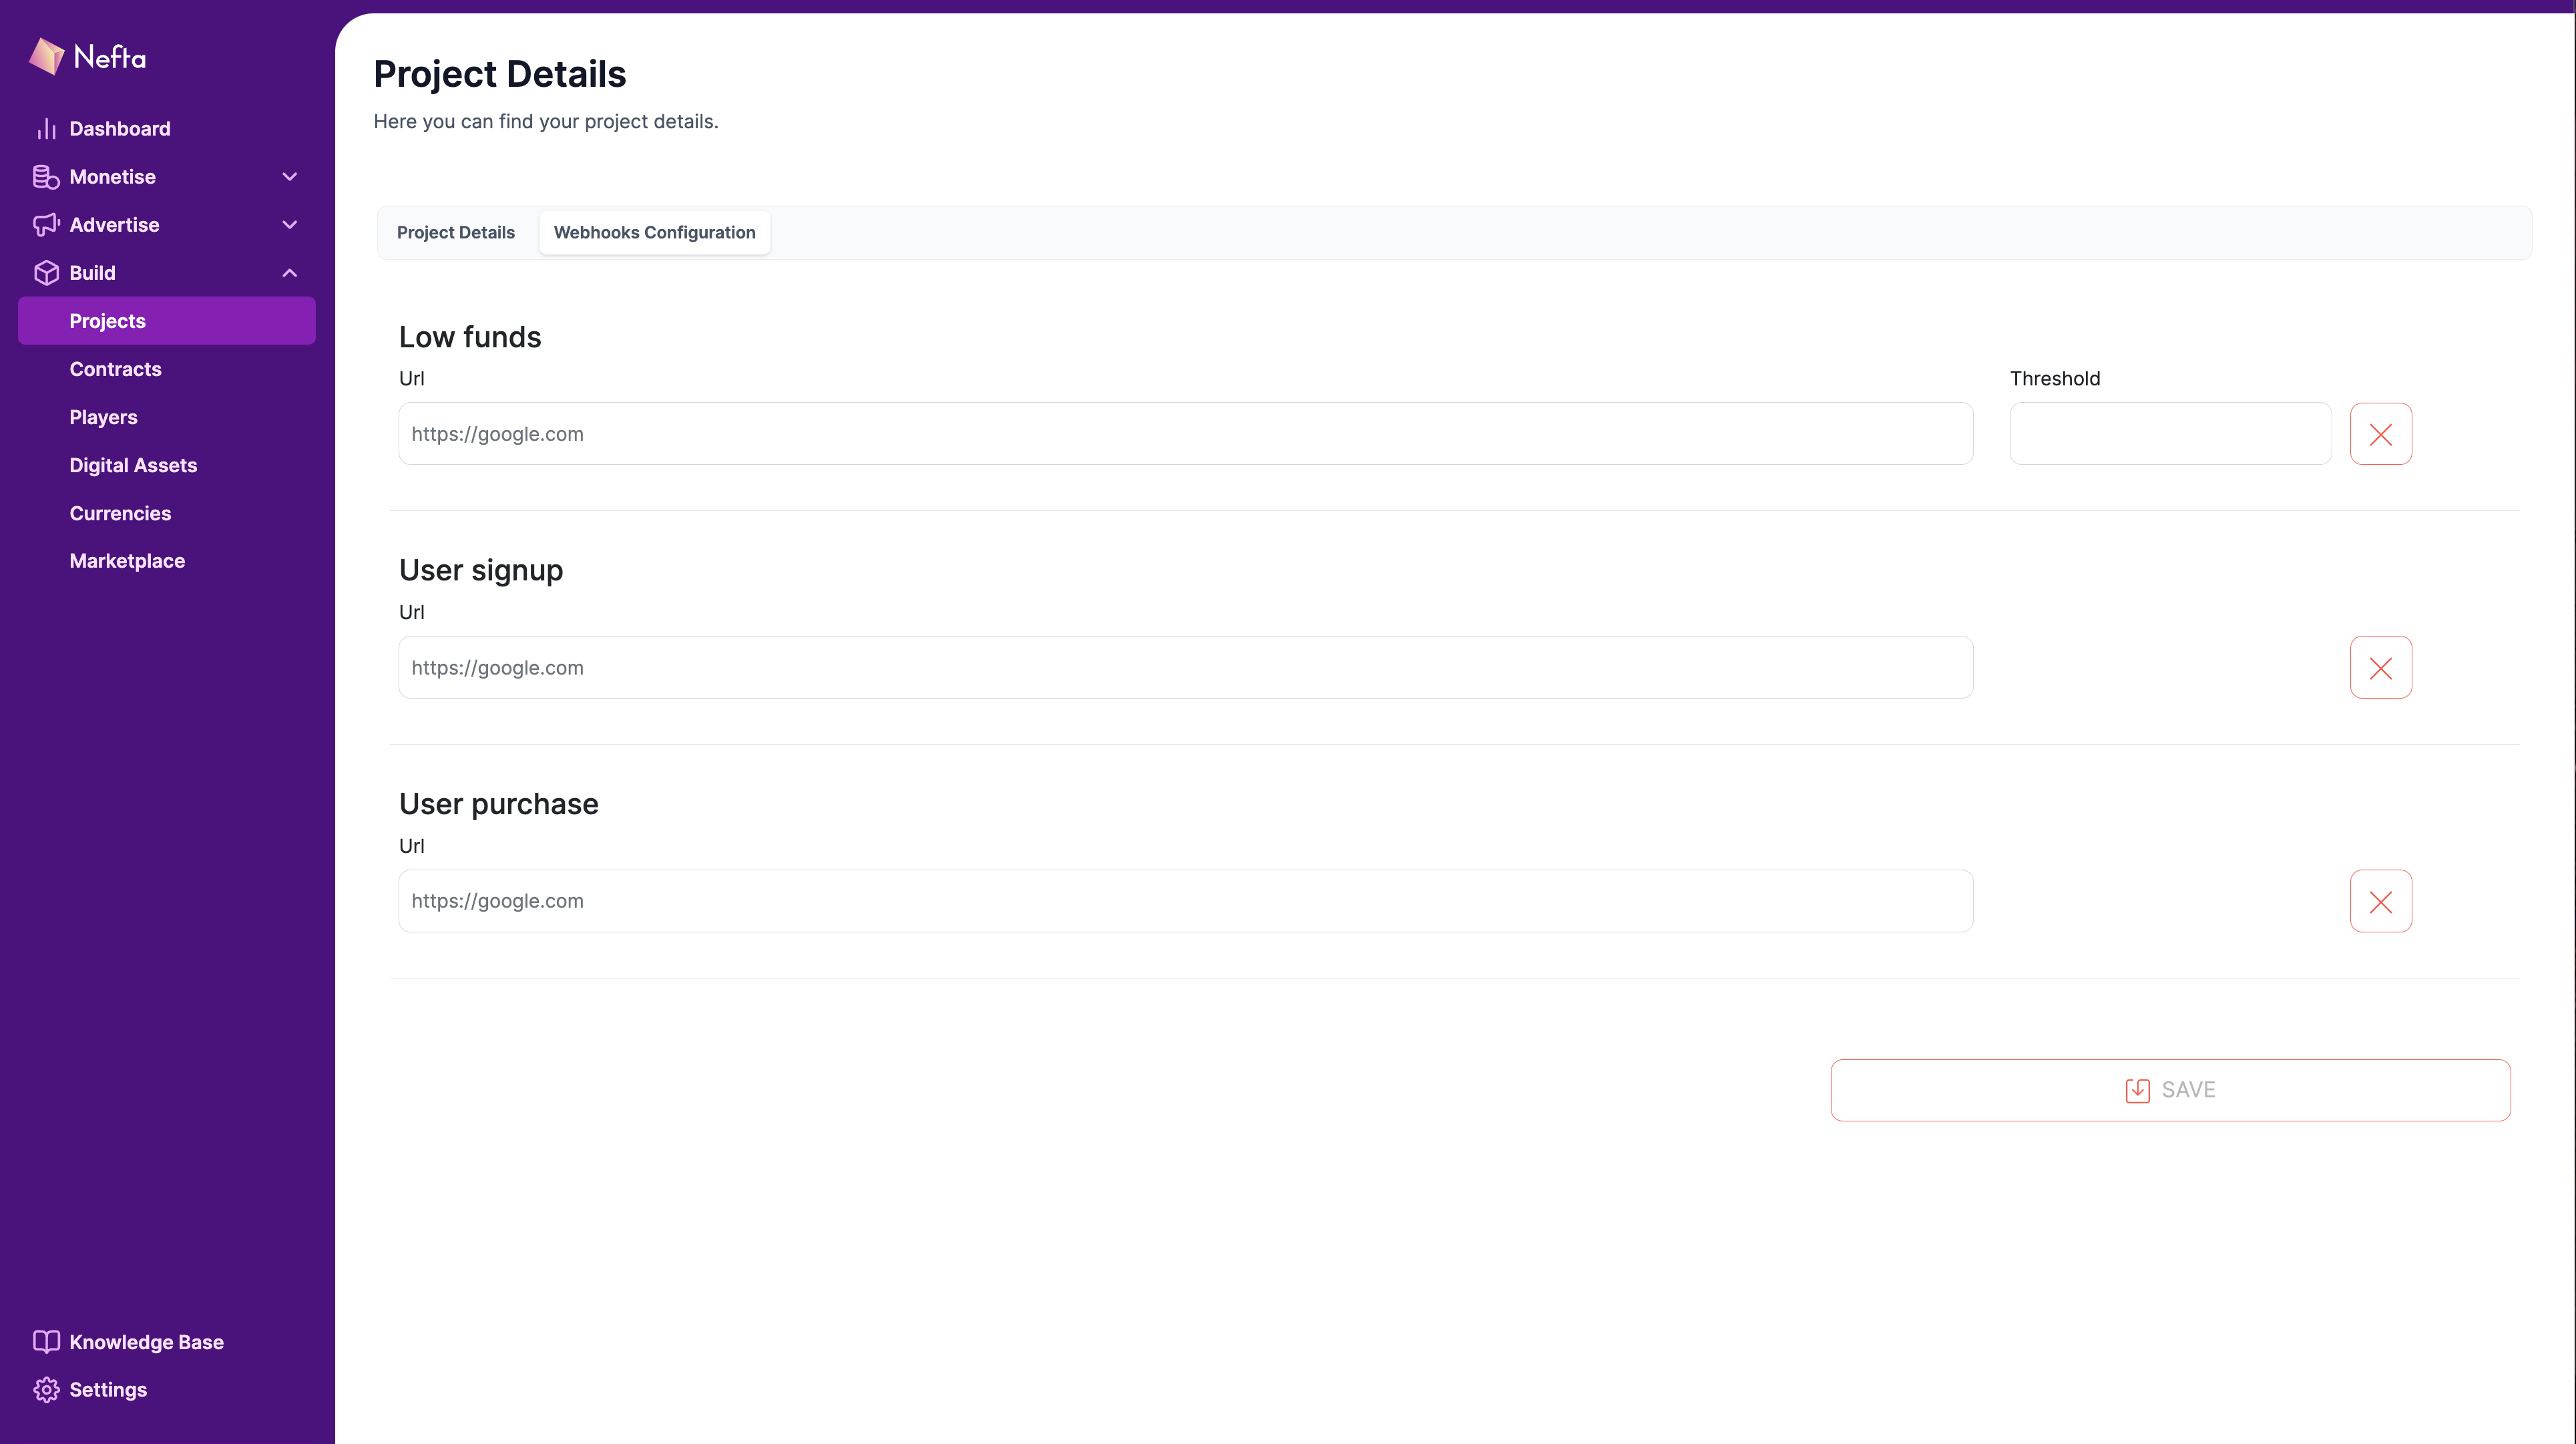
Set up webhooks
Project actions
Low funds check
We will check project balance every 5 minutes and in case it is below the defined threshold, notify you on defined url. We make a POST request with project name and balance in the body.
This is useful when the project pays for gas fees for user’s transactions (gas-less transfers, mints).
{
   "project_id": "project-id",
   "project_name": "Project name",
   "balance": 42
}
User actions
If you want to track user actions and pair users with any ID your system might implement, Nefta’s Marketplace supports forwarding of custom data via web hooks.
In your app, open the marketplace with an additional eD (external data) query parameter with any URL-safe string, for example:
https://marketplace.nefta.io/marketplace/m1-8527?eD=WW91IGhhZCB0byBsb29rLCBkaWRuJ3QgeW91IDopIA==
This data will be stored on the user on user creation, and forwarded back via any user web hook. If the user will buy an item via the web interface, by finding the marketplace on google (opening it without the eD parameter), the same data will still be forwarded in the web hooks.
User signup
On every marketplace signup, we will make a POST request to your defined url, which will contain user data and your external_data in the body.
{
   "user":{
      "project_id":"project-id",
      "user_id":"user-id",
      "account_id":"account-id",
      "username":"username",
      "created_at":"2023-11-21T10:19:55.350Z"
   },
   "external_data":"54987-dfhio"
}
User purchase
On every purchase, rent or loot-box reveal we will make a POST request to your defined url, with asset_ownership information and your external_data in the body.
{
   "asset_ownership":{
      "project_id":"project-id",
      "user_id":"user-id",
      "traits":{
         "traitKey":"traitValue"
      },
      "asset_characteristics":{
         "nft_staking":false,
         "currency_id":"currency-id",
         "interest":2,
         "principal_amount":5,
         "evolvable":false,
         "burnable":false,
         "currency":"currency",
         "timed_assets":true,
         "days_to_self_destruct":2,
         "hours_to_self_destruct":3,
         "minute_to_self_destruct":5
      },
      "target_project_id":"12345678",
      "uri":"https://asset-metadata-uri",
      "purchase_price":0.01,
      "ownership_amount":1,
      "serial":2,
      "blockchain_asset_id":87654321,
      "description":"description",
      "image":"https://image-url",
      "owner_user_id":"owner-user-id",
      "owner_address":"owner-wallet-address",
      "rental":false,
      "created_at":"2023-11-03T18:50:07.391Z"
   },
   "external_data":"54987-dfhio"
}
4. Find your project details: API key, wallet, and more
Once you have created your first project, you will be able to see it on the homepage. Additionally, you will have a few options:
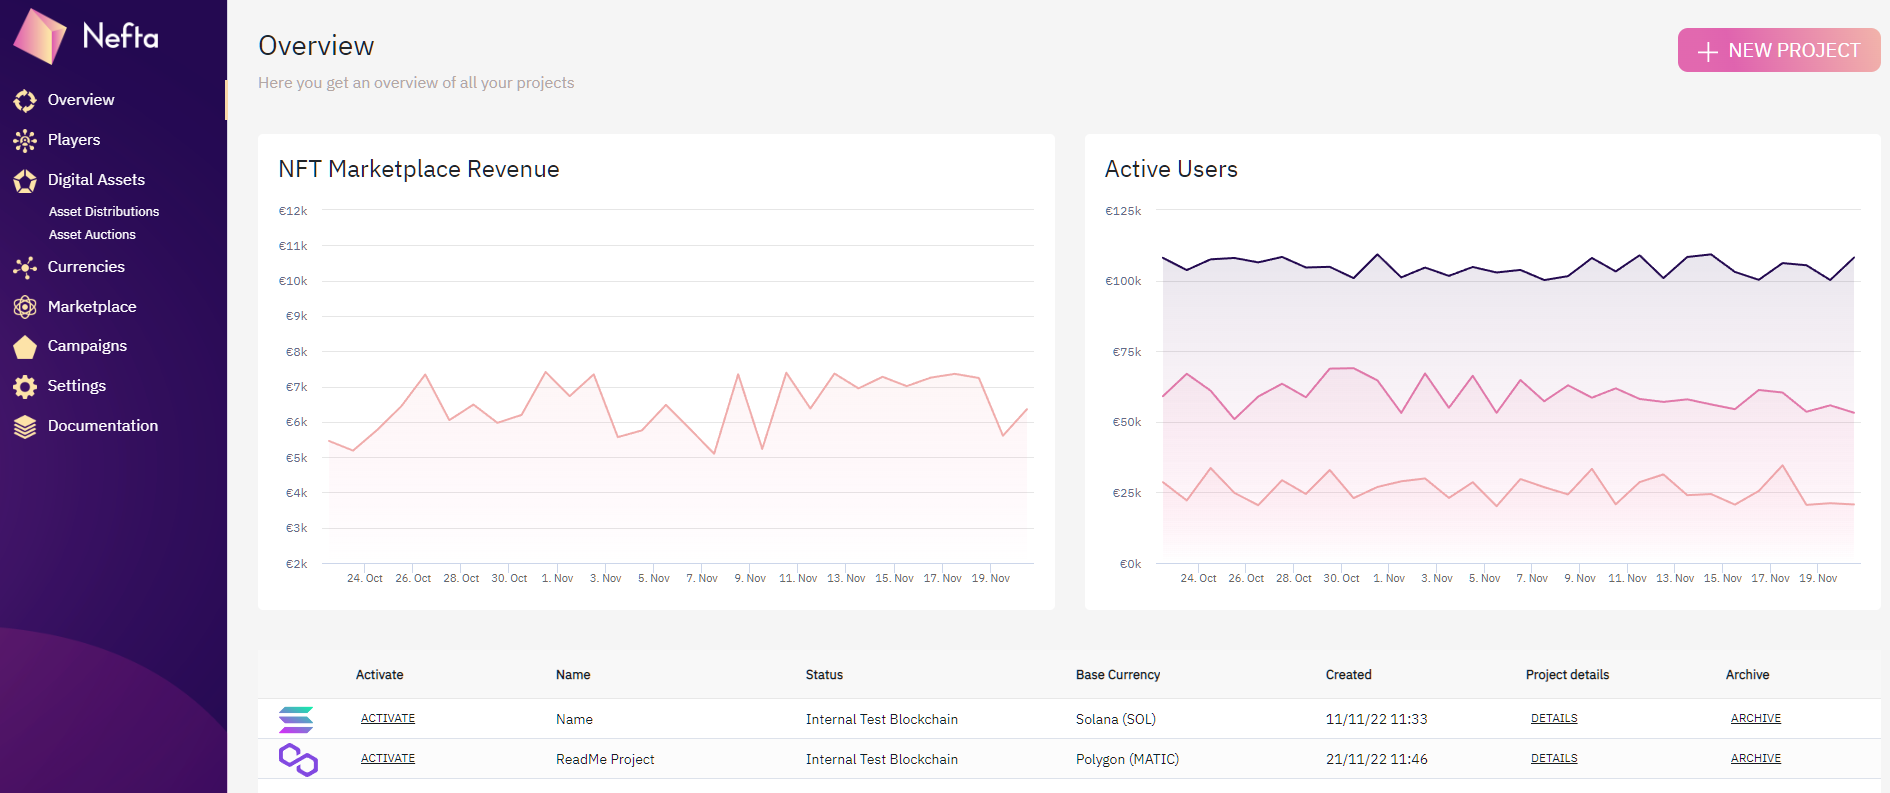
The homepage, now with your project added.
On the line item of your new project (in this example, "ReadMe Project"), you will see "Project Details."
After you click on "Details:"
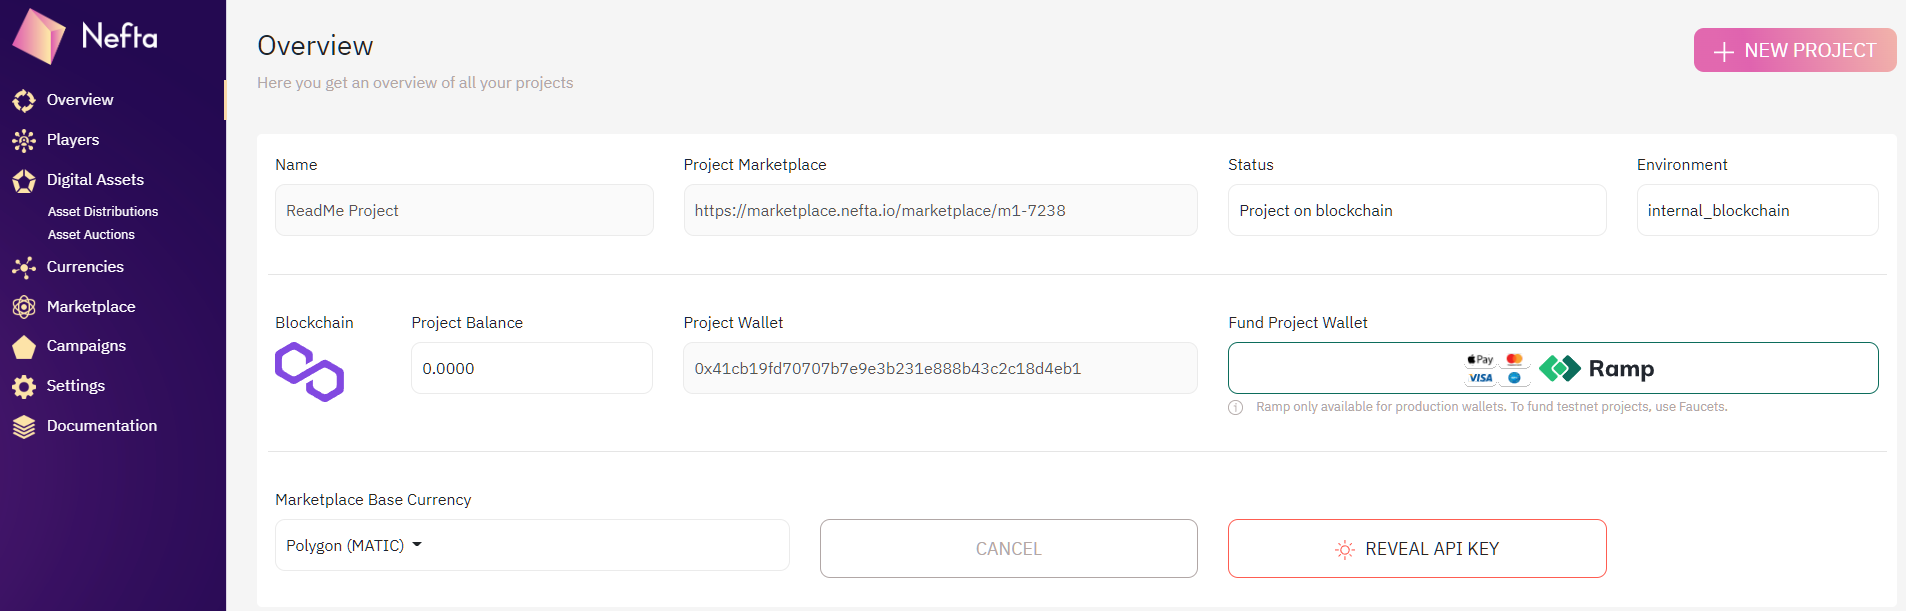
Project details page
Your API Key
Your API key can be revealed from your project details page.
Each new project you create gets a unique API key and marketplace ID.
Project wallet
Your project wallet has been automatically created and is ready for you to create NFTs and Tokens with our platform.
Marketplace
Your very own marketplace has been created and is ready to have assets listed and sold on it.
Project ID
The code at the end, starting with "m1-," is the project ID.
Each project gets its own unique project ID.
Simply copy and paste this m1- code into either the Unity or Unreal SDKs to connect them to your project.
Fund your project wallet with Ramp/fiat
Does what it says on the tin.
Marketplace base currency
Once you've created a currency on our platform, you can choose what the marketplace base currency should be. This can be a choice of any token you create or the native currency to the chain (MATIC for Polygon, SOL for Solana, etc).

Time to start creating!
Congratulations!
You have:
- Created a fresh set of infrastructure for your project in a few clicks;
- Found your API key;
- Found your marketplace ID;
- Found your project wallet address;
- Learnt how to fund your project wallet with Ramp;
- Learnt how to change your marketplace base currency;
- Learnt how to set up project webhooks.
Updated 8 months ago